How to hang
Please select the name of the pack that you were provided for your hanging instructions.
For larger frames, start by marking one side of the frame and attaching the wall fittings. Hang the frame from this fitting, then mark and attach the wall fittings for the other side.
NOTE: Frames hung with the Metal Corner Bracket Pack – Plaster Screw will drop 3.5mm from the marked position. The above technique will NOT work with this pack. For larger frames, have someone either side of the frame to mark one side then the other before fitting the plaster screws.
Instructions
Disclaimer: It is important to note that the effectiveness of the Henger system is dependent on the condition of the wall it is being used on. If the wall is damaged, of poor quality or the installation is shoddy, the weight guidelines may be compromised and may result in damage or injury.

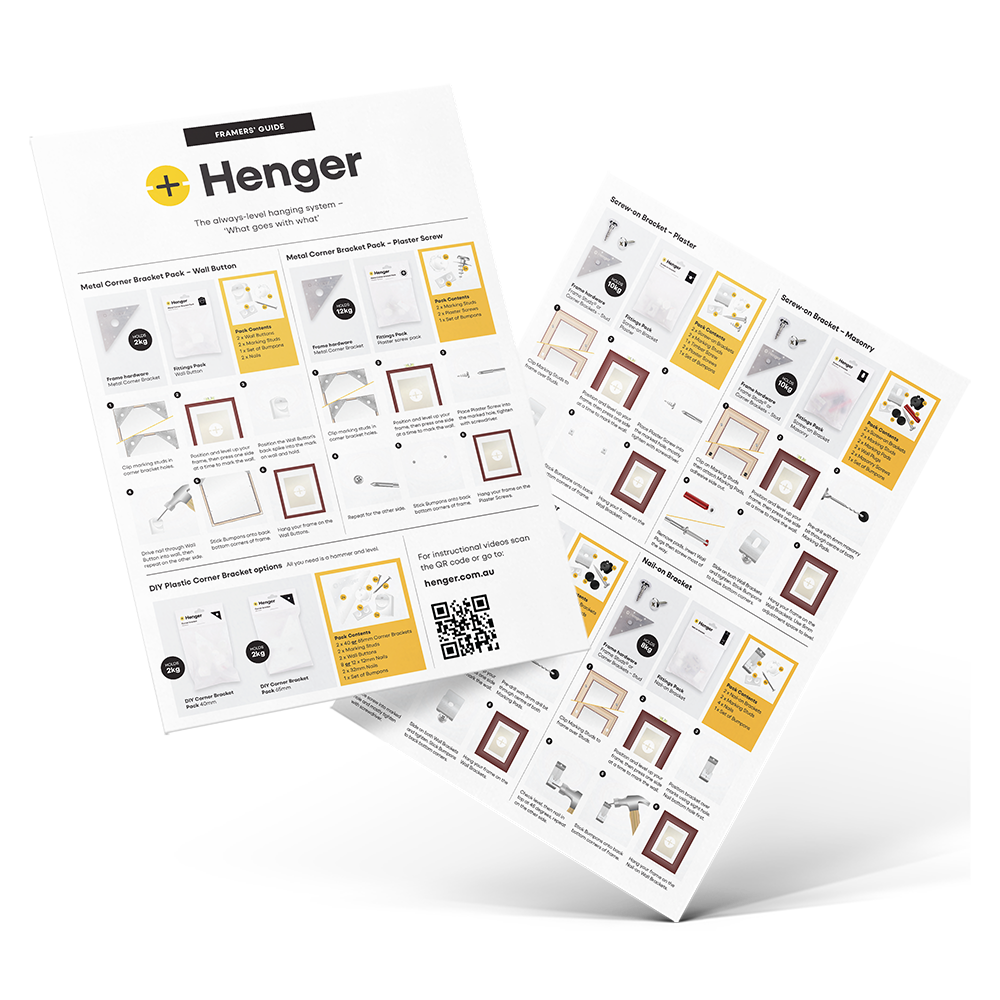
The Henger Framers Guide - “What goes with what!”
The always-level hanging system that doesn’t require tedious measurements.
We offer exclusive wholesale pricing to retail and wholesale framers, galleries, photographers, and studios.
-
The System
Learn moreAt its core, is a new screw design (Frame Stud) that can be used with wire but can also be used with the wire removed for level hanging. Marking Studs are placed over the screws to mark the wall to indicate where the wall brackets are to be placed.
-
Advantages
Learn moreThere is no customer consultation required if using the Henger Frame Studs. This means that a framer can offer the system at collection instead of complicating the consultation process if they desire.
-
Who is Henger
Learn moreHenger is a father and son team with a combined 65 years of experience in the Picture Framing industry. This experience spans both retail framing and wholesale Picture Framing supply in Tasmania, Australia.


